Connecting Outlets to a Property
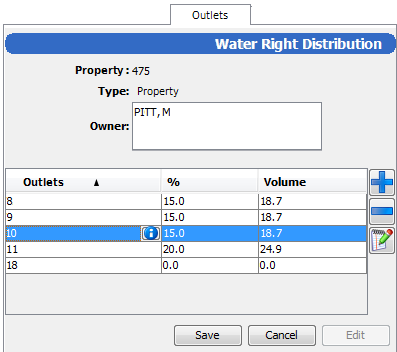
You can use the Outlets tab of the Property module to:
- Manage outlets that are connected to a property
- Create an authorisation to link an outlet to a property
- Assign operators to place orders for the outlet
Note
You must create and place outlets in the Network Editor. You can connect an outlet to a property in either the Properties module or the Network Editor. See Creating an Outlet and Creating an Authorisation for details of the Network Editor.
To add an outlet and an authorisation for a property:
- Click
 Properties to open the Properties module.
 - Select the property whose outlets you want to manage (use the
 Find tool to search for properties).
 - Open the Outlets tab to view a list of the outlets connected to this property.

- Click Edit to make changes to the outlet list.
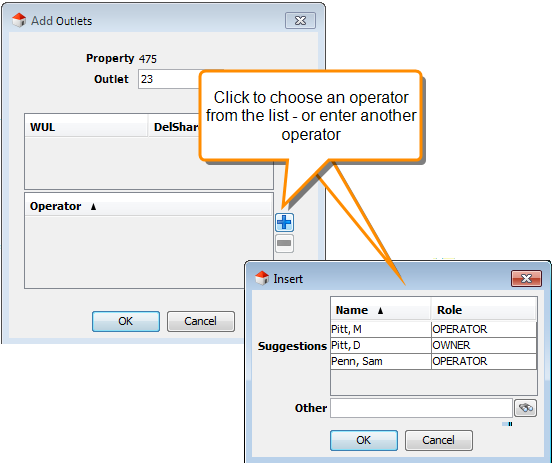
- Click Add to add a new outlet.
- Enter the name of the outlet to add. Use the
 Find tool to search for outlets.
 - Click Add beside the Outlet Operator panel to add an operator for the outlet. The Insert window suggests any likely options, such as the property owner, or you can use the
 Find tool to search for a party.

- Click Save to save your changes.
This procedure connects the outlet to the property by creating an authorisation. It also assigns an operator for the authorisation who can place orders for the outlet.